Do you use Time Machine to backup your Mac? Is Time Machine configured to backup to one or more hard drives? Has one of your backup hard drives died? If so, you want to remove that drive from Time Machine’s configurations. If you don’t remove it then Time Machine will repeatedly remind you that you haven’t backed up to that particular drive in many days.
Here are instructions for removing a hard drive from Time Machine’s configuration. If you’re using macOS 13 Ventura or newer use Section 1.
If you’re using macOS 12 Monterey or older use Section 2.
Section 1 for macOS Ventura and newer
- Click on the Apple menu and select System Settings
- Click on General on the left hand side
- Click on Time Machine on the right hand side.
- Select the drive that you no longer want to use by clicking on its name.
- Click the minus sign icon to remove that drive from the list.
- Click the Forget Destination button to confirm that you no longer want to use this drive.
- Click the red dot in the upper left-hand corner to close the Time Machine window.
Section 2 for macOS Monterey and older
- Click on the Apple Menu, select System Preferences.
- Click on the Time Machine icon.
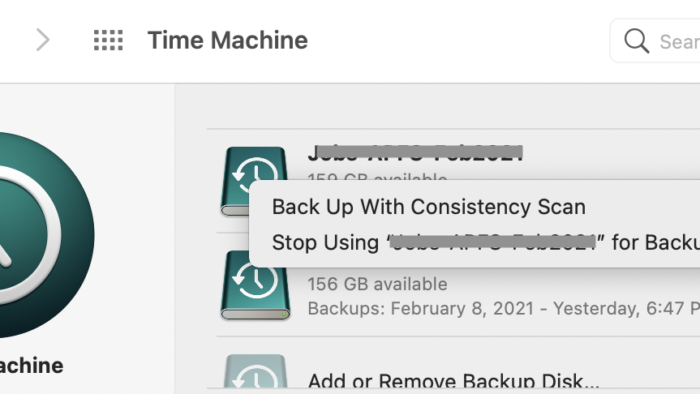
- Hold down the Control key on your keyboard as you click on the icon for the drive that you want to remove from Time Machine. Use the image above as a guide.
- Select Stop using <hard drive’s name> for Backup
- Click the red dot in the upper left-hand corner to close the Time Machine window.
Here are some other, related Tech Tips.
Learn how to add a second hard drive to your Time Machine configuration.
Learn how to configure Time Machine to use a new hard drive.
I liked this post as it really worked so that I can continue to use my airport router as a router only