
It is that time of year again. With Christmas approaching, my wife asked me to print labels for Christmas cards. This should be a seemingly straightforward task using Apple’s Contacts application. Open Contacts, create a new Contacts list and move those friends and relatives to whom you would like to send holiday greeting cards into the list. In fact, Apple has a guide for doing this on your Mac. From here, you can easily print out labels or envelopes. Apple’s guide for this is also helpful.
But what if you have individual entries for a couple and want to send one card to both of them. Contacts allows you to create a field for someone’s spouse, partner, or other relation but does not allow you to customize the name that appears on either an envelope or label. Busy Contacts ($49.99) will allow you to customize a label or envelope with a Nickname field, but this field then lives at the top of the contact just under their name.
Adam Engst wrote an excellent tutorial on how to print labels for Christmas cards from Contacts. Facing the same problem of how to deal with spouses, he came up with a solution that involves using Swift Publisher ($19.99) to create custom labels using the spouse field.
But what if even using the spouse field does not meet all your needs? Perhaps you want to create a label for the “Smith Family” or for an entire family by names.
Here is the solution I came up with, and best of all, it is free. It uses Apple’s Contacts, Numbers (or Microsoft Excel) and Avery’s Design and Print website to print custom Avery address labels. The steps are, in overview, as follows:
- Create a list in Apple’s Contacts
- Add the selected contacts to the list
- Create a custom field and add it to the Contacts default template
- Enter the card greeting in this field
- Export the Contacts list to a spreadsheet app (Numbers of Excel)
- Use Avery’s Design and Print website to create your labels using the custom field you created in Contacts
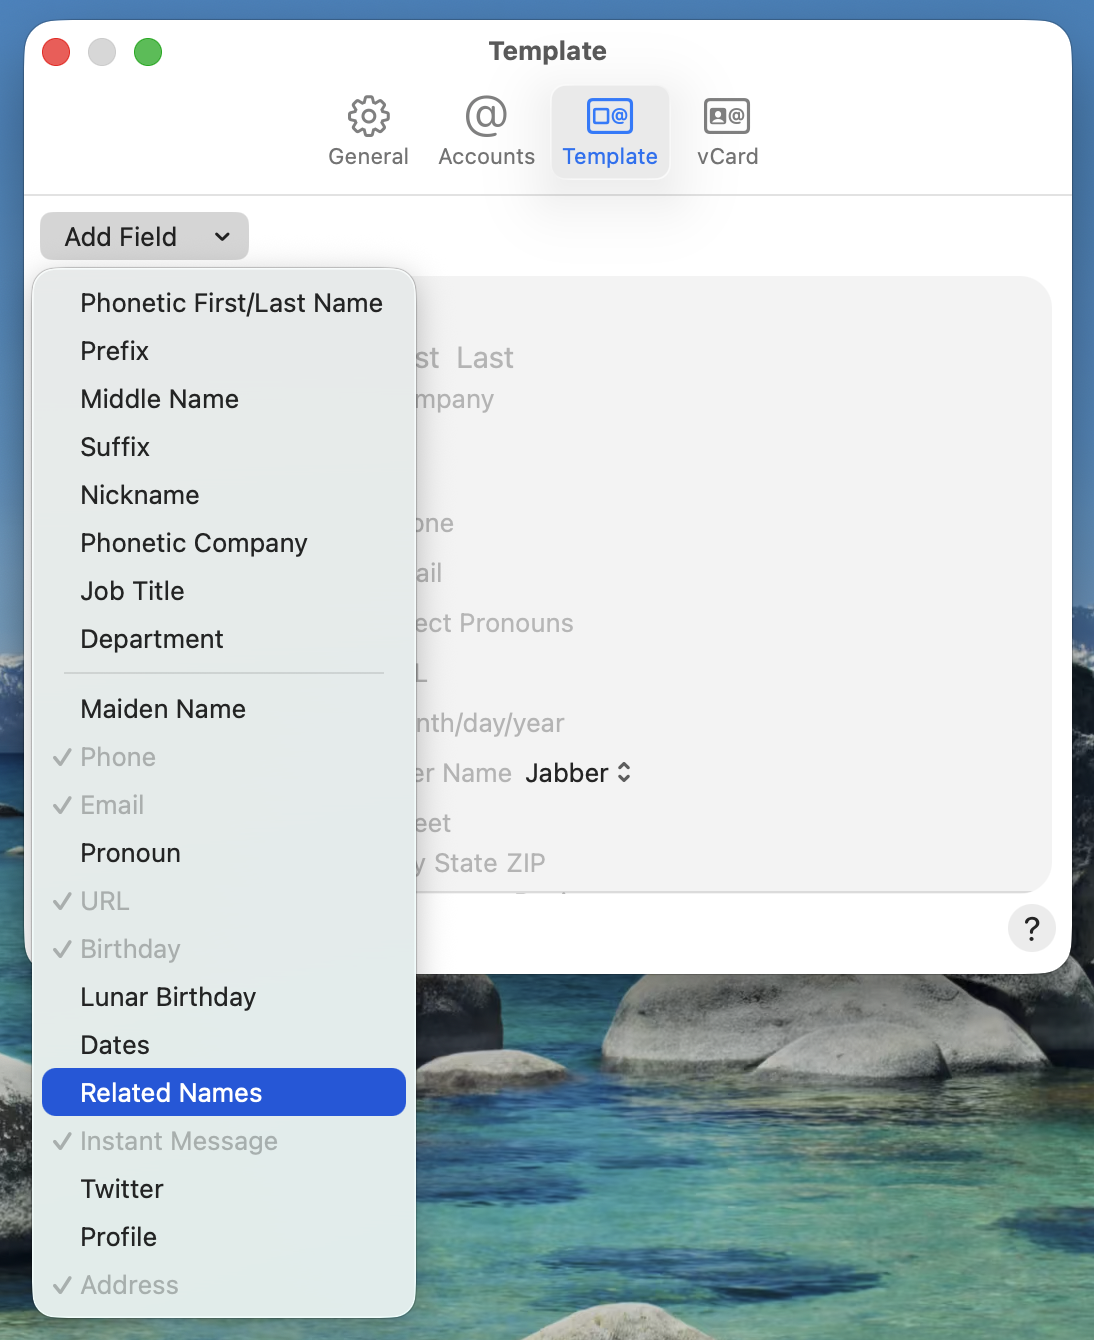
Apple’s Contacts allows for some customization. You can create a custom field in the Related Name section. Do this using the following steps:
- Open Contacts
- Select “Settings…” under the “Contacts” menu
- Click on the “Template” icon
- In the “Add Field” pulldown, select “Related Names” (if it is not already selected). This will add a related names field to your Contacts template
- Click on this field in the template and select “Custom…”
- Create a field called Card Greeting or similar
- Close the Contacts Template Settings
Next, go back to your list you created in Contacts. Right click on a contact and select Edit Card or press Command-L. You should now see the custom field you created in Contacts. Enter your card greeting text for the address label for this contact.
The next step is to export your Contacts list into a spreadsheet application. Tim wrote a Sound Support Tech Tip on this.
(Note: while I have done this numerous times, I ran into a problem when exporting my entire list from Contacts. Importing the list in smaller groups let me isolate one particular contact that was causing the problem. When this contact was removed from the list, the rest of the list imported without issue.)
Once you have the spreadsheet, you should go through and remove columns that are not needed for the address labels. Avery’s Design and Print website has a maximum column limit of 20 columns. If you are using Apple’s Numbers application, you will want to export the file as either an Excel (.xls) or CSV file in order to use it with Avery’s site.
Finally, go to Avery’s Design and Print website. The site contains excellent video tutorials on selecting your Avery labels, uploading your spreadsheet, creating and then exporting your labels to print at home on Avery labels. While this may not be as straightforward as one would hope, it is still quicker and easier than addressing all the envelopes by hand.