Were you using the CrashPlan Home backup service? Have you now switched to BackBlaze or some equivalent backup service? Once you know that BackBlaze has completed its initial backup of your Mac then it’s safe to get rid of CrashPlan. It is my understanding that it is not possible to actually shutdown or close your CrashPlan account. Instead, we will just unlink all of your Macs from your CrashPlan account and then we will let your CrashPlan account expire.
Follow these instructions to remove the backup copies of your Mac(s), to unlink them from your CrashPlan account and to uninstall the CrashPlan application from your Mac(s).
[Note September 2025: These instructions were true for Crashplan in 2017. To uninstall current version of Crashplan, see these instructions.
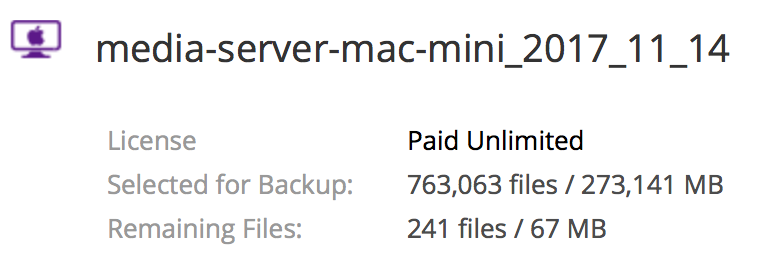
- Login to your Backblaze account and verify that your Mac(s) have finished their initial backup. You will know that this is the case when the number of remaining files is quite small. In the image below you can see that 273,000 MB (273 GB) of data has been backed up and only 241 files, comprising 67 MB, need to be backed up.

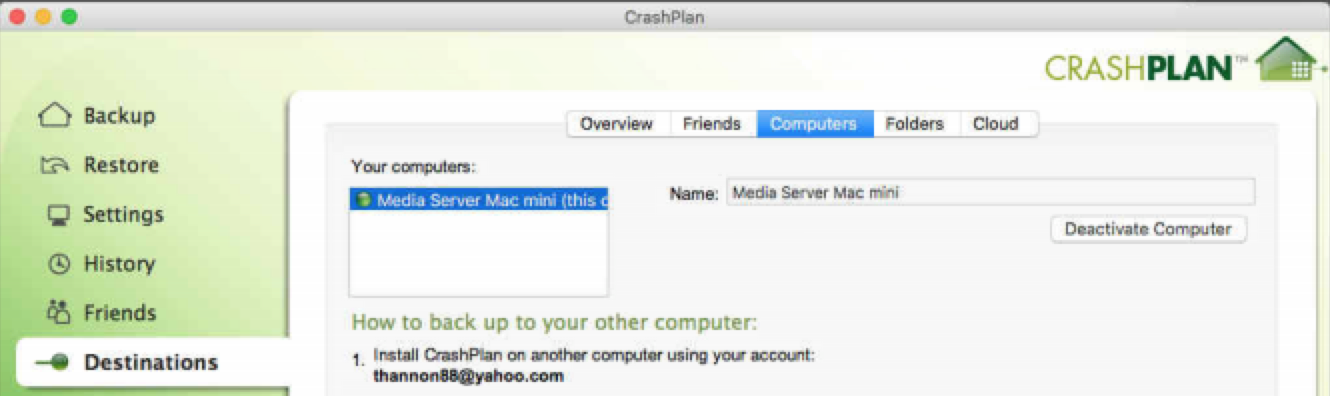
- On your Mac, open the CrashPlan application. Click on the Destinations section on the left-hand side, then click the Computers button. You should see a window similar to the one shown below.

- One by one, click on each computer listed in the Your computers section and then click the Deactivate Computer button. This will accomplish two things. It’ll remove this computer from your CrashPlan account and it’ll remove all backup data that CrashPlan has stored for this computer.
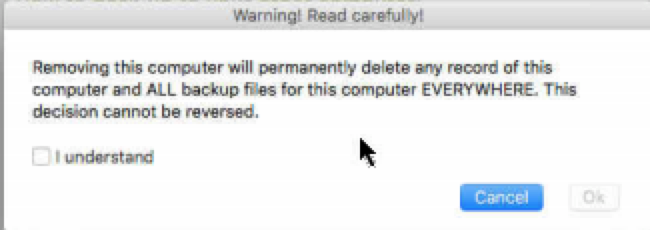
- Check the box next to I understand and then click the Ok button.
- In order to remove CrashPlan from your Mac(s) you need to have a copy of the CrashPlan installer. This may not make sense, initially, but the installer includes an uninstaller. Download the CrashPlan installer, if needed.
- Open the installer, which is named something like CrashPlan_4.8.3_Mac.dmg
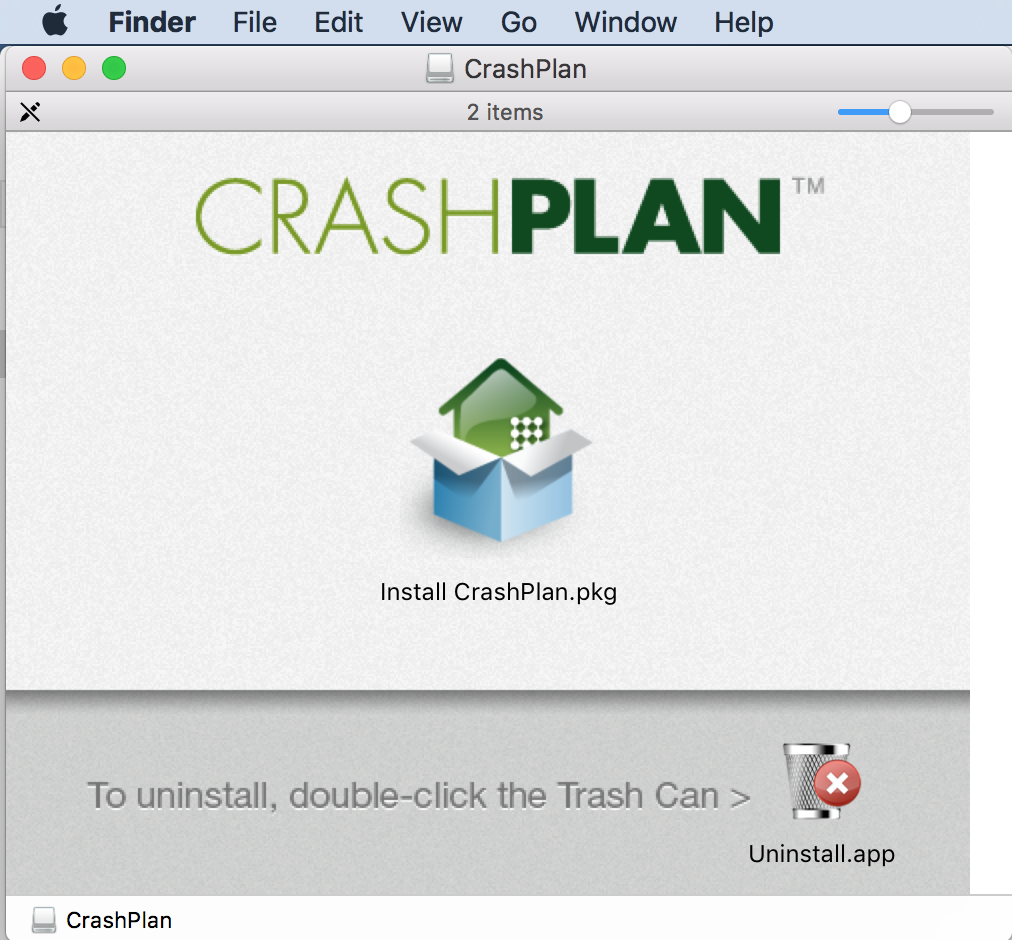
- When the installer is open you should see a window similar to the one below. Double click the Uninstall.app icon
- Click the Uninstall button to start the process.
- You’ll be prompted to enter your Mac’s user account password. Do this and then click the OK button.
- Wait a minute or so and then you will see a message indicating that CrashPlan has been uninstalled.
- As needed, remove CrashPlan from any other Macs you have.